Table of Contents
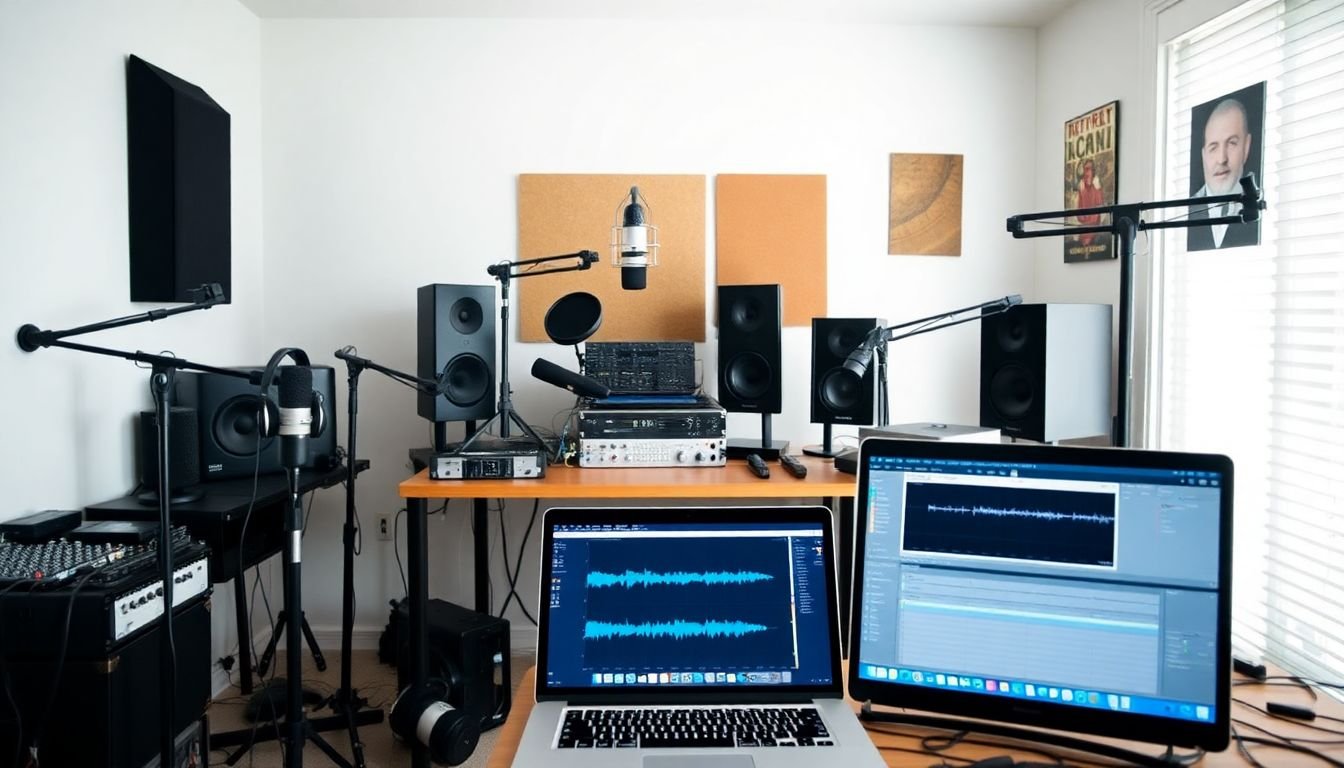
Ever wondered how your favorite podcasts go from an initial idea to the polished episodes you enjoy every week? The magic happens behind the scenes, in the realm of podcast production, where audio technology and clever software come together to create a seamless listening experience. But what exactly goes into this process, and what equipment and software are podcast creators using to bring their stories to life? If you’re new to podcasting or looking to upgrade your setup, you’re in the right place. In this comprehensive guide, we’re going to delve into the technical side of podcast production, exploring the best podcast equipment and software to help you create professional-sounding content that captivates your audience.
Did you know that there are over 2 million podcasts available worldwide, with new shows launching every day? With such a vast and growing landscape, standing out requires not just compelling content, but also high-quality audio production. According to a survey by Edison Research, 66% of podcast listeners say that good audio quality is important to them, and 46% have stopped listening to a podcast because of poor audio quality. So, the question is, how can you ensure that your podcast’s audio is top-notch and engaging? The answer lies in understanding and investing in the right podcast equipment and software.
In this article, we promise to demystify the world of podcast production, breaking down the essential equipment and software you need to create a podcast that sounds as good as it is to listen to. We’ll start by exploring the best microphones, headphones, and recording interfaces to capture crystal-clear audio. Then, we’ll dive into the world of podcast software, from recording and editing to publishing and monetization. Whether you’re a seasoned podcaster looking to upgrade your setup or a newcomer eager to launch your first show, this guide will equip you with the knowledge and tools you need to succeed in the dynamic world of podcasting.
So, are you ready to take your podcast to the next level? Let’s embark on this audio adventure together, as we explore the fascinating world of podcast production equipment and software. By the end of this article, you’ll have a clear understanding of the best tools for the job, and you’ll be well on your way to creating a podcast that truly stands out in the crowd.
Mastering the Art of Podcast Production with the Right Tools
In the dynamic world of audio storytelling, mastering the art of podcast production is a journey filled with creativity, technical finesse, and the right tools. Imagine you’re a chef, and your podcast is the culinary masterpiece you’re creating. Just as a chef needs the perfect knives, pans, and ingredients, a podcaster needs the ideal tools to bring their audio vision to life. From recording high-quality audio to editing seamless episodes, the right tools can transform your podcast from a simple conversation into a captivating, polished experience for your listeners. Think of it as your secret recipe, where each tool plays a crucial role in creating that perfect podcast dish. So, let’s dive into the pantry of podcast production, explore the essential tools, and learn how to wield them like a pro. After all, every great podcast starts with the right ingredients.
Understanding Podcast Audio Quality
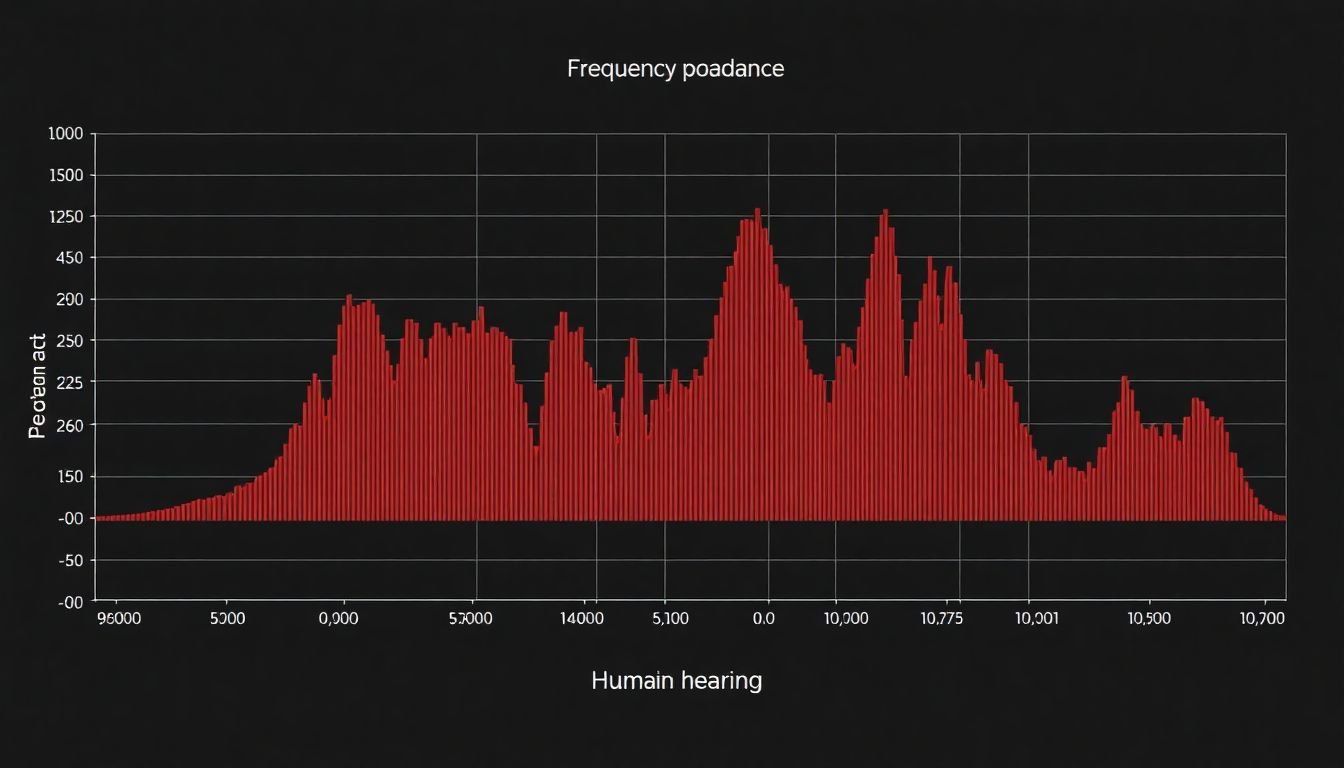
In the realm of podcasting, the quality of audio is not just a nice-to-have feature, but a crucial element that can significantly enhance or detract from the listener’s experience. High-quality audio can make your podcast stand out, engage your audience, and even make complex topics easier to understand. It’s the difference between a crystal-clear conversation and a muffled, hard-to-follow discussion. Let’s delve into the technical aspects that contribute to this audio quality. First, we have frequency response. This is essentially the range of frequencies that your podcast’s audio can reproduce. Human hearing typically ranges from 20Hz to 20kHz. A podcast with a wide frequency response can capture a broader range of sounds, from the lowest bass to the highest treble, making the audio more dynamic and engaging. However, it’s not just about the range; a flat frequency response ensures that all frequencies are reproduced equally, preventing any one range from dominating the audio. Next, we have bit depth. This refers to the number of bits used to represent a single sample of audio. More bits mean more precision, and thus, better audio quality. A higher bit depth can capture a wider range of volumes, from very quiet to very loud, without distortion. This is particularly important in podcasts where speakers might vary their volume significantly. Lastly, we have sample rate. This is the number of times per second that the audio is recorded and played back. A higher sample rate means more samples are taken, allowing for a more accurate representation of the original audio. The most common sample rates in podcasting are 44.1kHz and 48kHz, which are considered high enough to capture the full range of human hearing. Understanding these concepts and ensuring your podcast has a wide frequency response, high bit depth, and appropriate sample rate can greatly improve your podcast’s audio quality. It’s a step-by-step process that starts with recording in a quiet, echo-free environment, using quality microphones, and ending with proper editing and exporting settings. Each step contributes to the final listening experience, making your podcast a pleasure to listen to.
Choosing the Right Microphone
Choosing the right microphone for your podcasting needs is a crucial decision that can significantly impact the quality of your audio. Let’s dive into the world of microphones and explore the different types, their pros and cons, and provide recommendations tailored to various budgets and use cases.
The first type of microphone you’ll encounter is the dynamic microphone. These work well for live performances and interviews due to their durability and ability to handle high sound pressure levels. They’re also quite affordable. However, they may not capture the full frequency range as well as other types, making them less ideal for studio recording. A great entry-level dynamic microphone is the Samson Q2U, which offers excellent value for its price.
Next, let’s talk about condenser microphones. These are known for their exceptional sound quality, capturing a wider frequency range and providing more detail. They’re perfect for studio recording, voice-overs, and podcasting. However, they’re more sensitive to background noise and require phantom power to operate. The Audio-Technica AT2020 is a popular choice among podcasters, offering high-quality sound at a reasonable price.
USB microphones are a convenient option for beginners, offering plug-and-play functionality with no additional audio interface required. They’re perfect for those on a tight budget or looking for a simple, easy-to-use solution. However, they may not offer the same sound quality as XLR microphones and can be more susceptible to background noise. The Blue Yeti is a well-known USB microphone, offering multiple pickup patterns and easy-to-use controls.
When choosing a microphone, consider your budget, the type of podcasting you’ll be doing, and the environment you’ll be recording in. If you’re on a tight budget, a USB microphone is a great starting point. If you’re looking to invest in a higher-quality microphone, consider a condenser microphone. And if you’re recording in a noisy environment, a dynamic microphone might be your best bet.
Remember, the best microphone is the one that sounds good to you and fits your specific needs. Don’t be afraid to test out different microphones and see what works best for you. Happy podcasting!
The Role of Headphones in Podcasting
In the realm of podcasting, headphones are not just accessories; they are indispensable tools that play a pivotal role in the production process. They serve as the ears of the podcast, enabling creators to monitor their audio, ensuring that every word, every sound effect, and every piece of music is crystal clear and perfectly balanced. Headphones allow podcasters to listen to their recordings in real-time, providing immediate feedback and enabling them to make adjustments on the fly.
One of the most significant advantages of using headphones is their ability to prevent echo. Echo, or reverberation, can significantly degrade the audio quality, making it difficult for listeners to understand the content. Headphones isolate the user from external sounds, creating a closed environment that prevents sound from bouncing off walls and other surfaces, thus reducing echo.
Moreover, headphones are instrumental in facilitating clear communication with remote guests. In a world where remote interviews are the norm, headphones allow podcasters to hear their guests clearly, regardless of the distance between them. They also help to reduce background noise, ensuring that the guest’s voice is the focal point of the conversation.
When it comes to choosing the right headphones, comfort and reliability are key. Long podcasting sessions can be taxing on the ears, so it’s crucial to invest in a pair that offers a good fit and adequate padding. Noise-cancelling features can also be beneficial, as they help to block out external distractions. Some reliable and comfortable options include the Sony WH-1000XM4, the Bose QuietComfort 45, and the Audio-Technica ATH-M50x. Ultimately, the best headphones are those that allow podcasters to focus on their content, ensuring that every episode is of the highest quality.
Audio Interfaces: Bridging the Gap
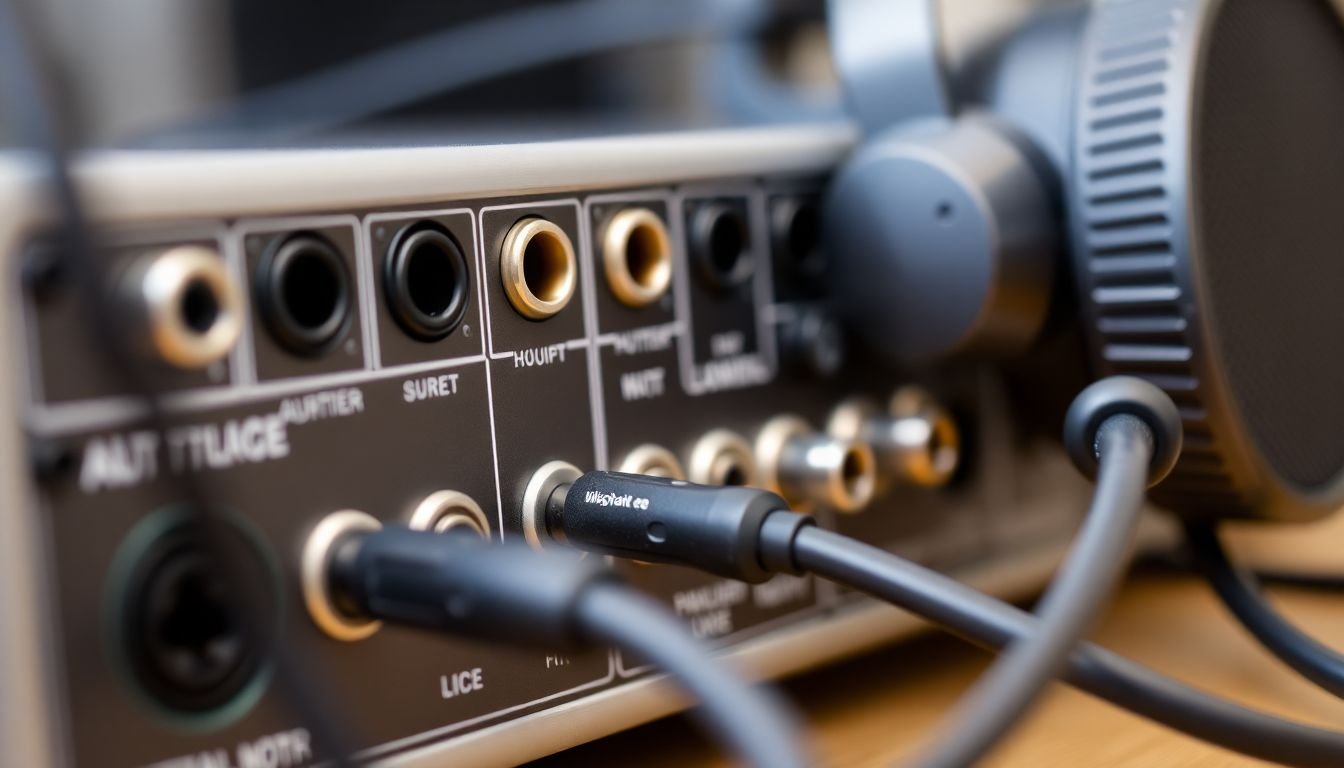
In the vast, echoing chamber of digital audio production, the unsung hero that bridges the gap between the tangible world of microphones and instruments, and the ethereal realm of computers, is the audio interface. This unassuming device is the unsung hero that breathes life into your recordings, translating the analog signals from your microphones and other audio sources into a digital format that your computer can understand and manipulate.
When venturing into the market to choose an audio interface, there are several features to consider that can significantly impact your recording experience. Firstly, input channels are a crucial factor. These determine how many microphones or instruments you can connect simultaneously. For instance, if you’re planning to record a full band, you’ll need an interface with multiple input channels.
Preamps, short for pre-amplifiers, are another vital feature. They boost the signal from your microphones, ensuring that your recordings are clean and free from noise. High-quality preamps can significantly improve the sound of your recordings, so it’s worth investing in an interface with good preamps.
Connectivity options are also a key consideration. Different audio interfaces offer different types of connections, such as USB, FireWire, or Thunderbolt. Each of these has its own advantages in terms of speed, stability, and compatibility with different computers. Additionally, consider the number and type of inputs and outputs the interface offers. This will depend on your specific needs, such as whether you need XLR inputs for microphones, or instrument inputs for guitars and basses.
Lastly, consider the interface’s software compatibility. Different audio interfaces are designed to work with specific digital audio workstations (DAWs). Ensure that the interface you choose is compatible with your chosen DAW to avoid any compatibility issues.
In conclusion, an audio interface is not just a piece of hardware, but a gateway to a world of creative possibilities. By understanding and considering these features, you can choose an audio interface that will serve as a reliable and versatile partner in your audio production journey.
Recording Software: Capturing Your Voice
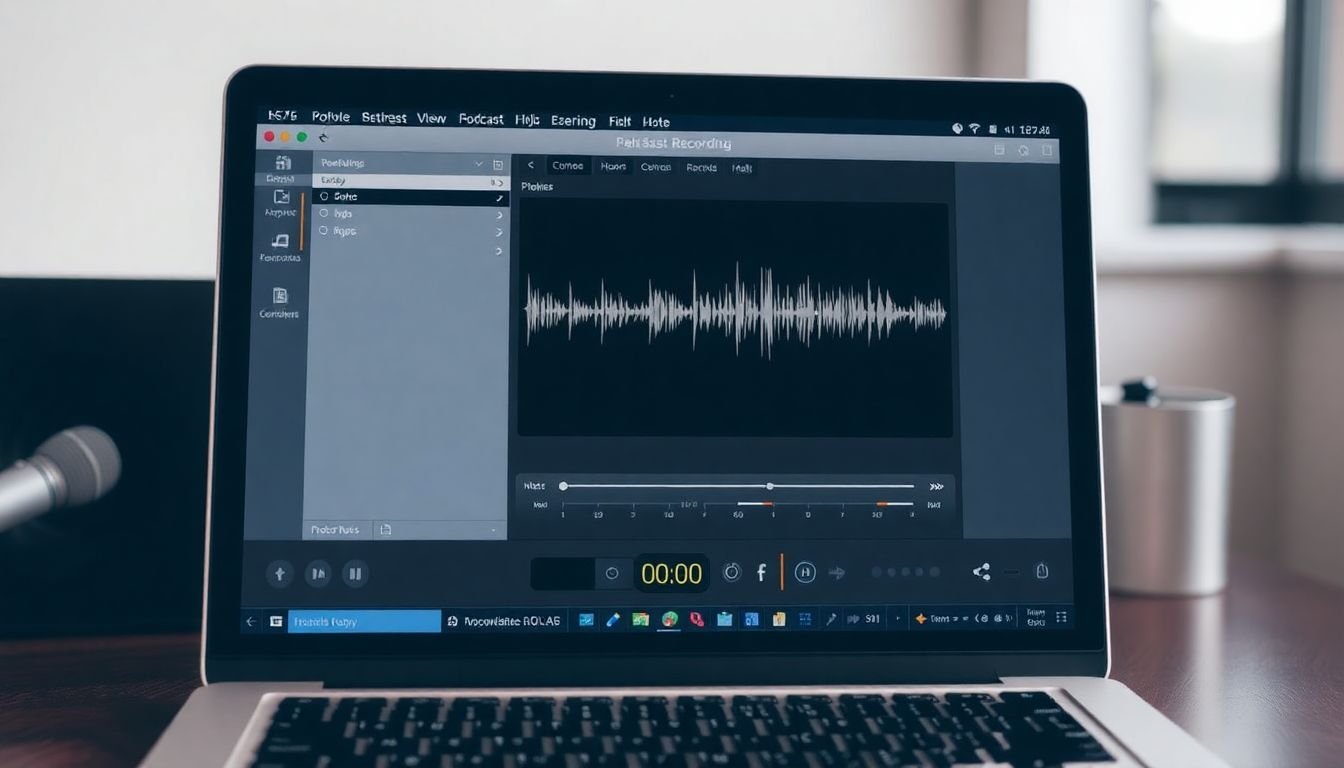
In the dynamic world of podcasting, choosing the right recording software is akin to finding the perfect stage for your voice. Let’s explore three popular options: Audacity, GarageBand, and Adobe Audition, each offering a unique blend of features, ease of use, and pricing structures. Audacity is an open-source, cross-platform powerhouse that’s free to use. It’s packed with features like multi-track recording, noise reduction, and a vast array of plugins. Audacity’s interface is clean and intuitive, making it a great choice for beginners. To record and save an episode, follow these steps:
- Launch Audacity and click on ‘Record’ to start capturing your voice.
- Once done, click ‘Stop’, then ‘Play’ to listen to your recording.
- To save, go to ‘File’ > ‘Export’ > ‘Export as MP3’.
GarageBand, Apple’s user-friendly audio workstation, comes free with new Macs. It offers a wide range of instruments, loops, and effects, making it an excellent choice for those who want to enhance their podcasts with music and sound effects. Here’s how to record and save an episode:
- Open GarageBand and click on ‘New Audio Recording’.
- Click the red record button to start, then click it again to stop.
- To save, go to ‘Share’ > ‘Export Song to Disk’ > ‘MP3’.
Adobe Audition, part of Adobe’s Creative Cloud suite, is a professional-grade tool with advanced features like multi-track editing, noise reduction, and audio restoration. It’s pricier than the other options, but its power and integration with other Adobe apps make it a top choice for professionals. To record and save an episode:
- Open Audition and go to ‘File’ > ‘New’ > ‘Audio File’.
- Click the red record button to start, then click it again to stop.
- To save, go to ‘File’ > ‘Export’ > ‘Export as MP3’.
Each of these software options offers a unique set of tools and workflows, so the best choice depends on your specific needs, budget, and comfort level. Happy podcasting!
Editing Techniques for Podcasts
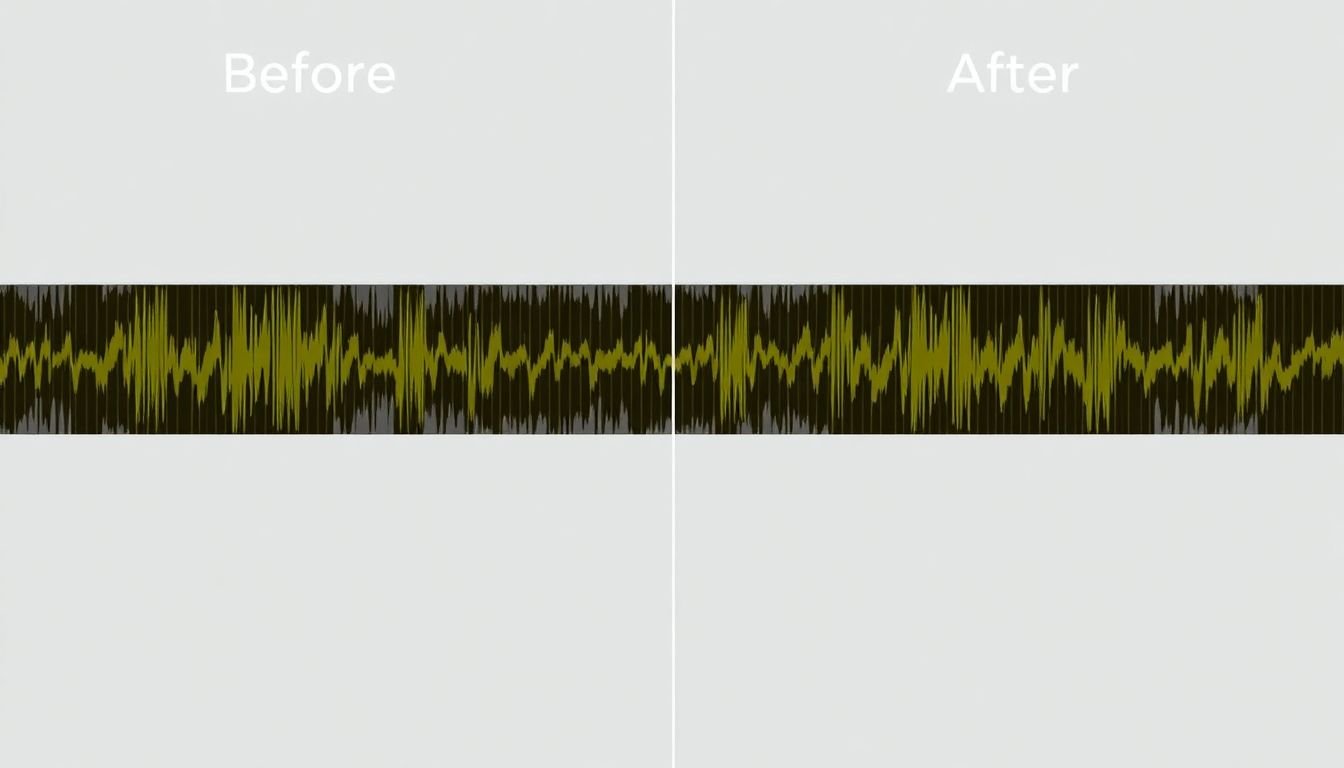
Editing a podcast is a critical step in ensuring a polished, professional, and engaging final product. The process involves several techniques that help to enhance audio quality, clarify speech, and maintain a smooth flow throughout the episode. Let’s delve into some key editing techniques, starting with noise reduction.
The first step in editing is often noise reduction. Background noise, such as hums, hisses, or room echoes, can significantly detract from the listening experience. To remove these unwanted sounds, use a noise reduction tool like iZotope RX or Audacity’s built-in Noise Reduction effect. Here’s a simple step-by-step process:
- Select a portion of the audio that contains only the noise you want to reduce.
- Use this selection to create a ‘noise profile’.
- Apply the noise reduction effect to the entire audio file, adjusting the settings to find the best balance between noise reduction and audio distortion.
Next, normalization is a crucial technique to ensure consistent audio levels throughout your podcast. This prevents listeners from having to constantly adjust their volume. To normalize your audio, use a tool like Audacity or Adobe Audition. Here’s how:
- Select the entire audio file.
- Use the normalization effect, setting the desired peak amplitude (usually -1 dB or -3 dB).
- Preview the normalization to ensure no clipping occurs.
Equalization, or EQ, is another powerful tool for enhancing your podcast’s audio. It allows you to boost or cut specific frequencies, helping to bring out vocals or reduce harshness. Here are some EQ tips:
- To enhance vocals, try boosting frequencies around 3-6 kHz and 8-12 kHz. Be careful not to overdo it, as too much boost can make vocals sound harsh or tinny.
- To reduce harshness or sibilance (harsh ‘s’ and ‘t’ sounds), try cutting frequencies around 3-4 kHz and 6-7 kHz.
- For a more balanced sound, consider using a ‘low cut’ filter to reduce low frequencies that may be causing muddiness.
Finally, creating seamless transitions between segments is key to maintaining a smooth flow in your podcast. This can be achieved through crossfades, which blend the end of one segment into the beginning of the next. Here’s how:
- Select the last few seconds of the first segment and the first few seconds of the next segment.
- Use the crossfade tool to blend the two segments together, ensuring a smooth transition.
- Preview the transition to ensure it sounds natural and doesn’t cause any audio distortion.
Multitrack Recording and Mixing
In the realm of podcast production, multitrack recording and mixing have emerged as powerful tools that unlock a world of flexibility and creativity. Let’s dive into these techniques and explore how they can elevate your podcasting game.
Multitrack recording, at its core, involves capturing separate audio tracks for each speaker or sound source. This is achieved using digital audio workstations (DAWs) that allow you to record and manage multiple tracks simultaneously. By recording each speaker on a separate track, you gain a level of control that’s simply not possible with single-track recording. For instance, you can adjust the volume, EQ, or apply effects to each speaker independently, ensuring that every voice is heard clearly and distinctly.
Now, let’s talk about mixing. This is the process where all the recorded tracks come together to create a cohesive, polished podcast episode. During the mixing stage, you can add a myriad of effects and enhancements to enhance the listening experience. Here are a few examples:
- Volume Automation: You can adjust the volume of each track over time to ensure that the loudest parts of the conversation don’t drown out the quieter ones.
- Equalization (EQ): By adjusting the frequencies of each track, you can make voices sound clearer, or add warmth and depth to interviews.
- Effects: From reverb to delay, effects can add a professional touch to your podcast. For example, reverb can simulate the acoustics of a different environment, while delay can create a sense of space.
Moreover, multitrack recording and mixing allow for creative editing techniques. You can remove unwanted noises, replace ‘ums’ and ‘ahs’, or even move sections of the conversation around to improve the flow of your podcast.
In conclusion, multitrack recording and mixing are not just tools for podcasters; they are powerful creative weapons that can transform your podcast from a simple conversation into a rich, engaging audio experience. So, why not give them a try and see where your creativity takes you?
Remote Recording and Guest Interviews
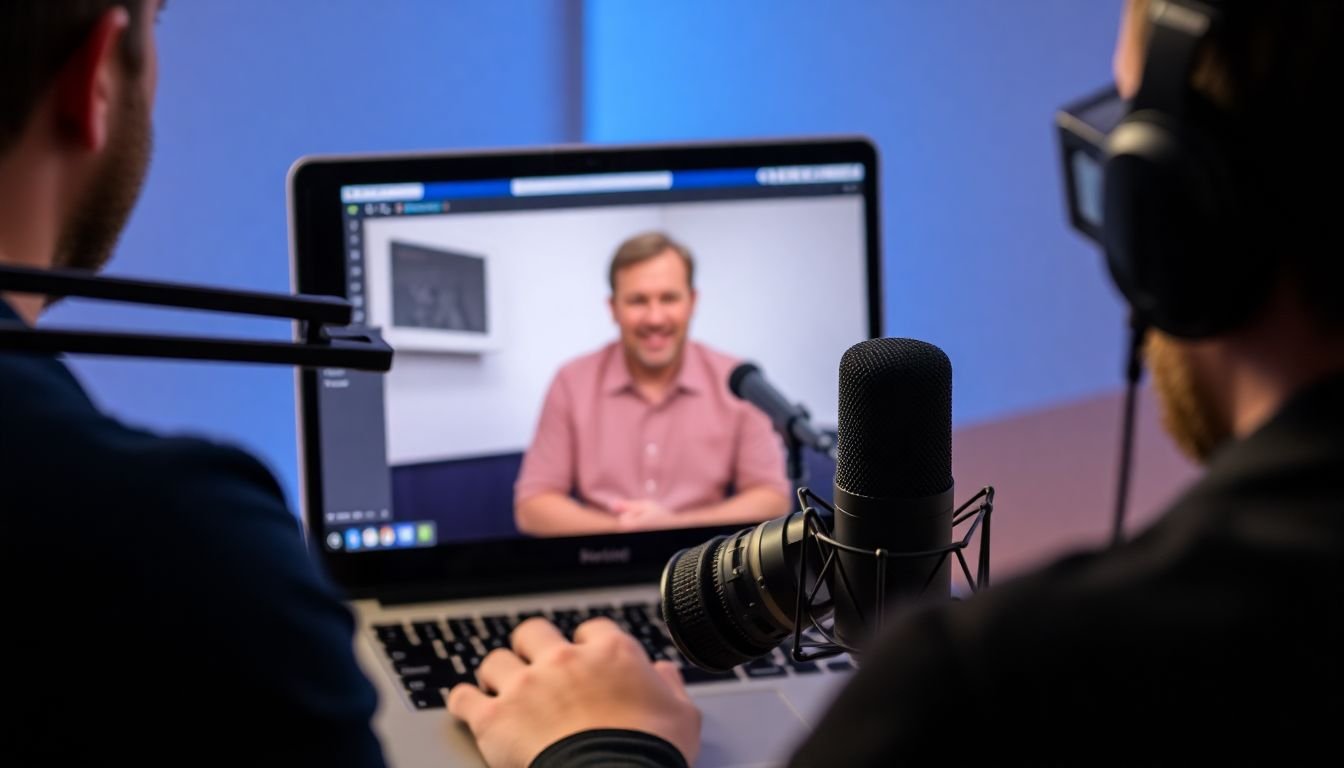
In the digital age, geographical boundaries no longer hinder the creation of compelling content. Remote recording and guest interviews have become the norm, enabling collaborations across the globe. Tools like Zoom, Skype, and SquadCast have emerged as popular choices for these virtual sessions. Each platform offers unique features, but they all share a common goal: to facilitate seamless, high-quality communication.
Zoom, for instance, is renowned for its webinar functionality, making it an excellent choice for interviews with large audiences. Skype, on the other hand, is widely recognized and user-friendly, ensuring guests are comfortable with the interface. SquadCast, a more specialized tool, focuses on high-quality audio recording, making it a favorite among podcasters.
To ensure your remote recordings are of the highest quality, consider the following tips:
- Invest in a Quality Microphone: While built-in microphones can suffice, investing in a quality USB microphone can significantly improve audio quality.
- Use an Ethernet Connection: Wi-Fi can be unreliable. If possible, connect your device to the internet using an Ethernet cable to minimize latency.
- Mute Background Noise: Inform your guests to mute their microphones when they’re not speaking to minimize background noise.
- Test Beforehand: Conduct a test run with your guests to familiarize them with the platform and ensure all technical aspects are in order.
By following these steps and choosing the right platform for your needs, you can create engaging, high-quality content from anywhere in the world.
Mastering and Exporting Your Podcast
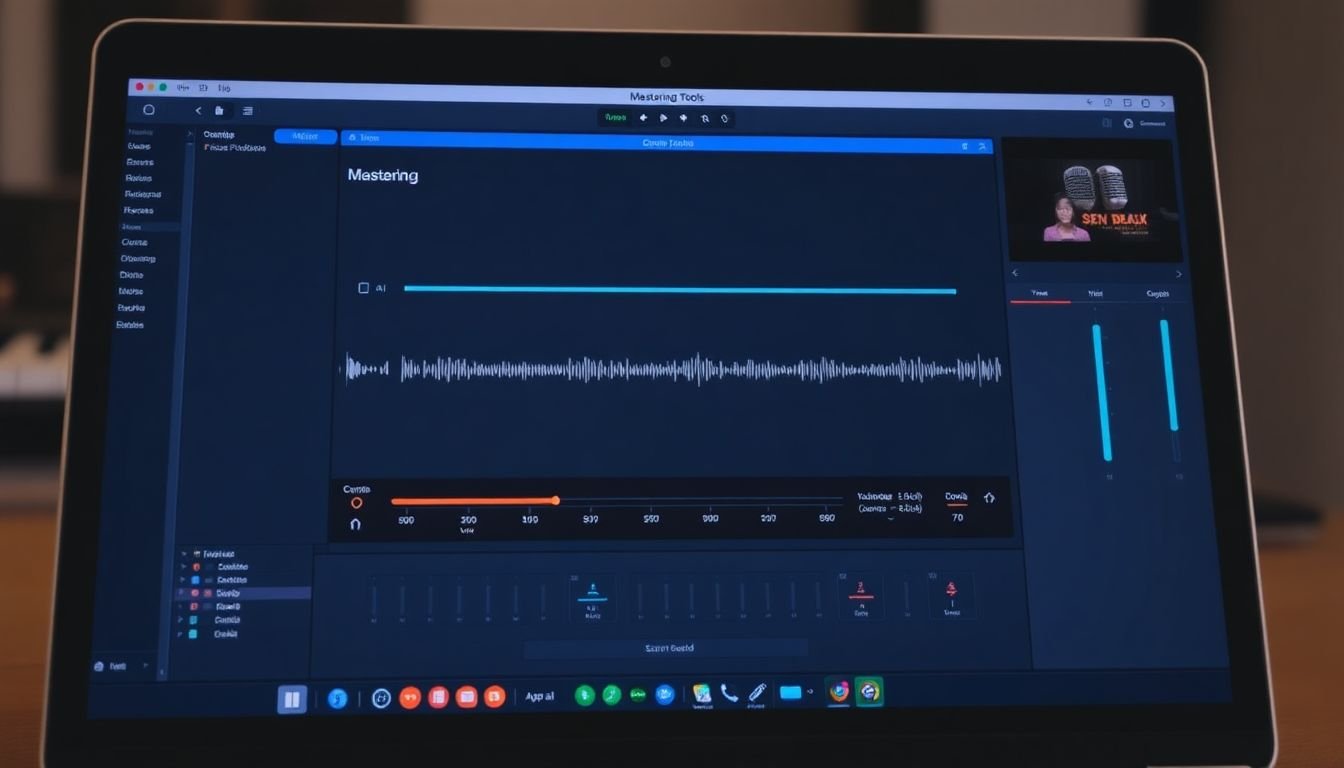
Mastering your podcast is a crucial step in ensuring your episodes sound polished and professional. It’s all about refining the audio to achieve consistent volume levels, dynamic range, and overall sound quality. Let’s dive into the mastering process and explore techniques to enhance your podcast’s audio. Mastering begins with ensuring your audio levels are consistent. This is particularly important for podcasts, as listeners expect a smooth, uninterrupted experience. Use a peak meter to monitor your audio levels, aiming for peaks around -6 to -3 dBFS. If your levels are too low, you can use a gain plugin to boost them. Conversely, if they’re too high, consider using a compressor to bring them down. Dynamic range plays a significant role in mastering. It’s the difference between the softest and loudest parts of your audio. A wide dynamic range can make your podcast feel more engaging and immersive, but it’s essential to strike a balance. Too wide, and your podcast might sound inconsistent; too narrow, and it might sound flat. Use a compressor with a slow attack and release to tame the dynamic range without squashing the life out of your audio. Now, let’s talk about sound quality. This is where you can really make your podcast shine. Equalization (EQ) can help shape the tone of your audio. For podcasts, a good starting point is a slight boost in the low-mids (around 200-400 Hz) for warmth, and a slight cut in the high-mids (around 3-6 kHz) to reduce sibilance. But remember, every podcast is unique, so don’t be afraid to experiment. Once you’re satisfied with your mastering, it’s time to export your episode. The most common file format for podcasts is MP3, due to its small file size and wide compatibility. When exporting, aim for a bit rate of 128 kbps (mono) or 192 kbps (stereo). This provides a good balance between file size and audio quality. Here’s a simple step-by-step guide:
- Open your mastered audio in your DAW (Digital Audio Workstation).
- Go to ‘File’ > ‘Export’ (or similar, depending on your DAW).
- Choose ‘MP3’ as the file format.
- Set the bit rate to 128 kbps (mono) or 192 kbps (stereo).
- Choose a sample rate of 44.1 kHz.
- Select a location to save your file, give it a name, and click ‘Export’.
And there you have it! Your podcast episode is now mastered and exported, ready to share with the world. Happy podcasting!
Future-Proofing Your Podcast Setup
Embarking on a podcasting journey is an exciting venture, but it’s crucial to consider the future growth and evolution of your show. Future-proofing your podcast setup ensures that your investment in equipment and software remains relevant and adaptable as technology advances. This not only saves you money in the long run but also allows your podcast to keep up with the latest trends and innovations in audio technology.
When investing in podcasting gear, opt for versatile and upgradeable options. For instance, a high-quality USB microphone can serve you well in the beginning, but consider one that also has an XLR connection for future upgrades to a professional audio interface. Similarly, choose a digital audio workstation (DAW) that’s user-friendly and has ample room for growth, such as Audacity or Adobe Audition.
Emerging audio technologies are shaping the future of podcasting. AI-powered noise reduction tools, like those integrated into software like iZotope RX, can significantly enhance your audio quality, making your podcasts clearer and more engaging. These tools can learn and adapt to your unique recording environment, providing a tailored noise reduction experience.
Immersive audio formats, such as binaural audio and spatial audio, are also gaining traction. These formats create a 3D audio experience for listeners, placing them right in the middle of the action. While these formats may not be mainstream yet, investing in equipment that supports them, like a pair of binaural microphones, can future-proof your setup and give you a competitive edge when these technologies become more prevalent.
In conclusion, future-proofing your podcast setup is about making smart investments in versatile and upgradeable gear. By keeping an eye on emerging audio technologies and adapting your setup accordingly, you’ll ensure that your podcast remains at the forefront of the industry, ready to captivate listeners with crystal-clear, immersive audio experiences.